The editor at a glance
The parts of the editor screen, the modules in the module bar, the language switch and the most useful keyboard shortcuts.
The editor screen is built the same way wherever you are: a top bar with Publish, the module bar on the far left, the page tree, and the work area with its own toolbar. This page introduces each part, the modules you switch between, and a few shortcuts that save time.
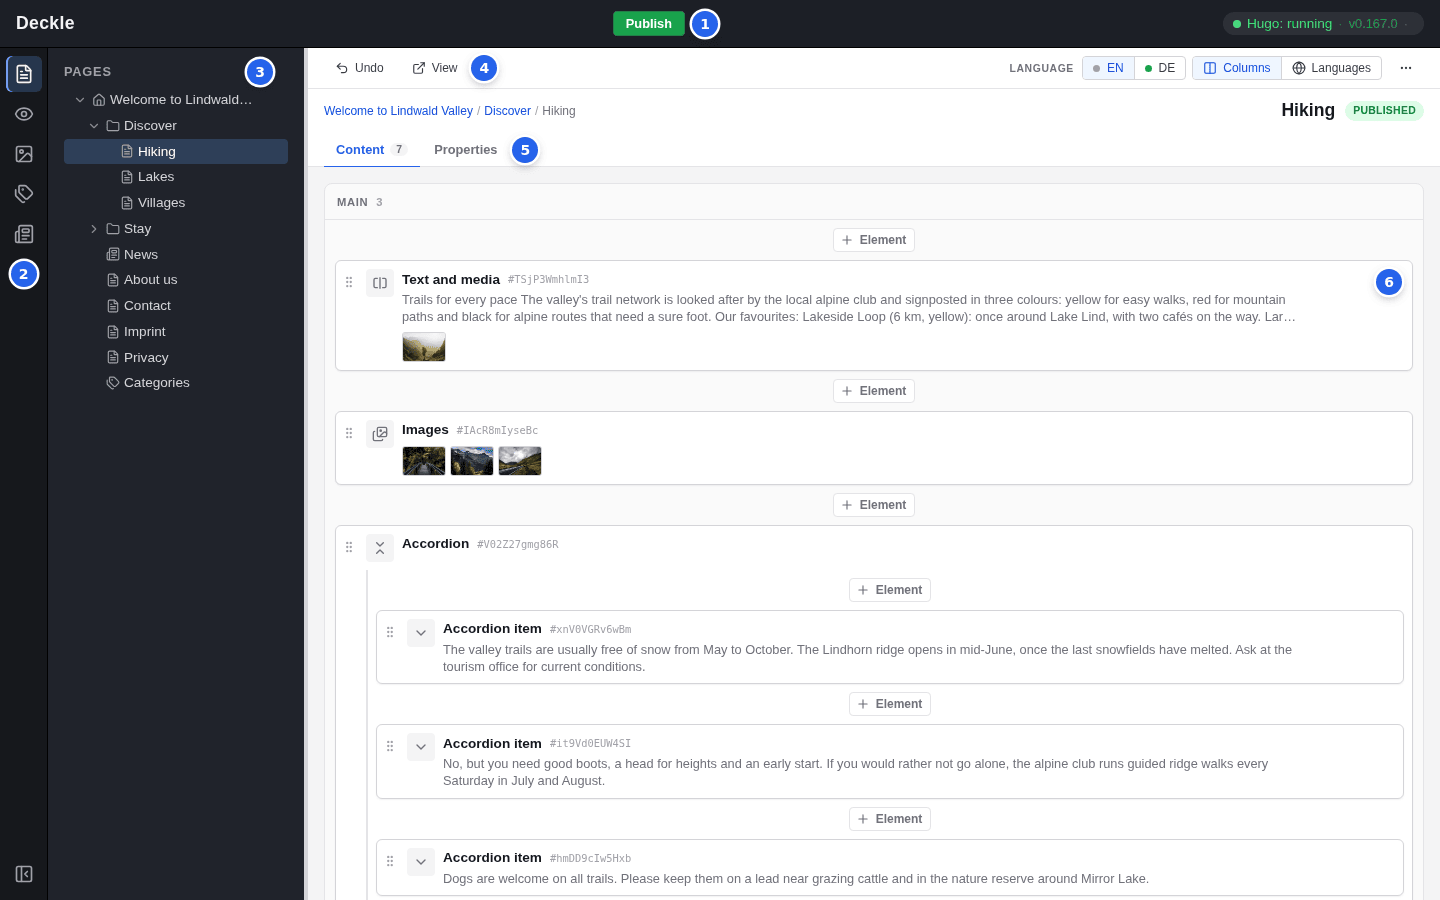
The parts of the screen
- Top bar with the green Publish button. As soon as you have saved a change, a counter such as 1 change appears next to it; click it to see everything that is waiting to be published.
- Module bar: the icons on the far left. Each icon opens a module, one area of the editor. Point at an icon to see its name.
- Page tree: all pages of your website. Subpages sit below their parent page; click the small arrow next to a page to show or hide them. Click a page title to open the page.
- Toolbar of the open page: buttons such as Undo and View on the left, the language switch and the ⋯ menu (Page actions) on the right. Below the buttons you see where the page sits, its title and its status, for example published.
- Tabs: Content lists the page’s content elements (the number counts them), Properties holds the page’s settings such as its title and meta description.
- Element cards: each card is one content element, such as a text, an image grid or an accordion, with a short summary of what it contains. Click a card to open the element’s form. The + Element buttons between the cards insert new elements.
The button at the very bottom of the module bar hides the page tree to give you more room; click it again to bring the tree back.
The modules
Every website has the first three modules. Further modules appear only if your website uses those features. When you switch modules, the editor keeps the page you have selected.
Page
The document icon at the top. This is where you do most of your work: select a page in the page tree, then edit its content elements and its properties. The screenshot above shows the Page module. Read more under pages and content elements.
View
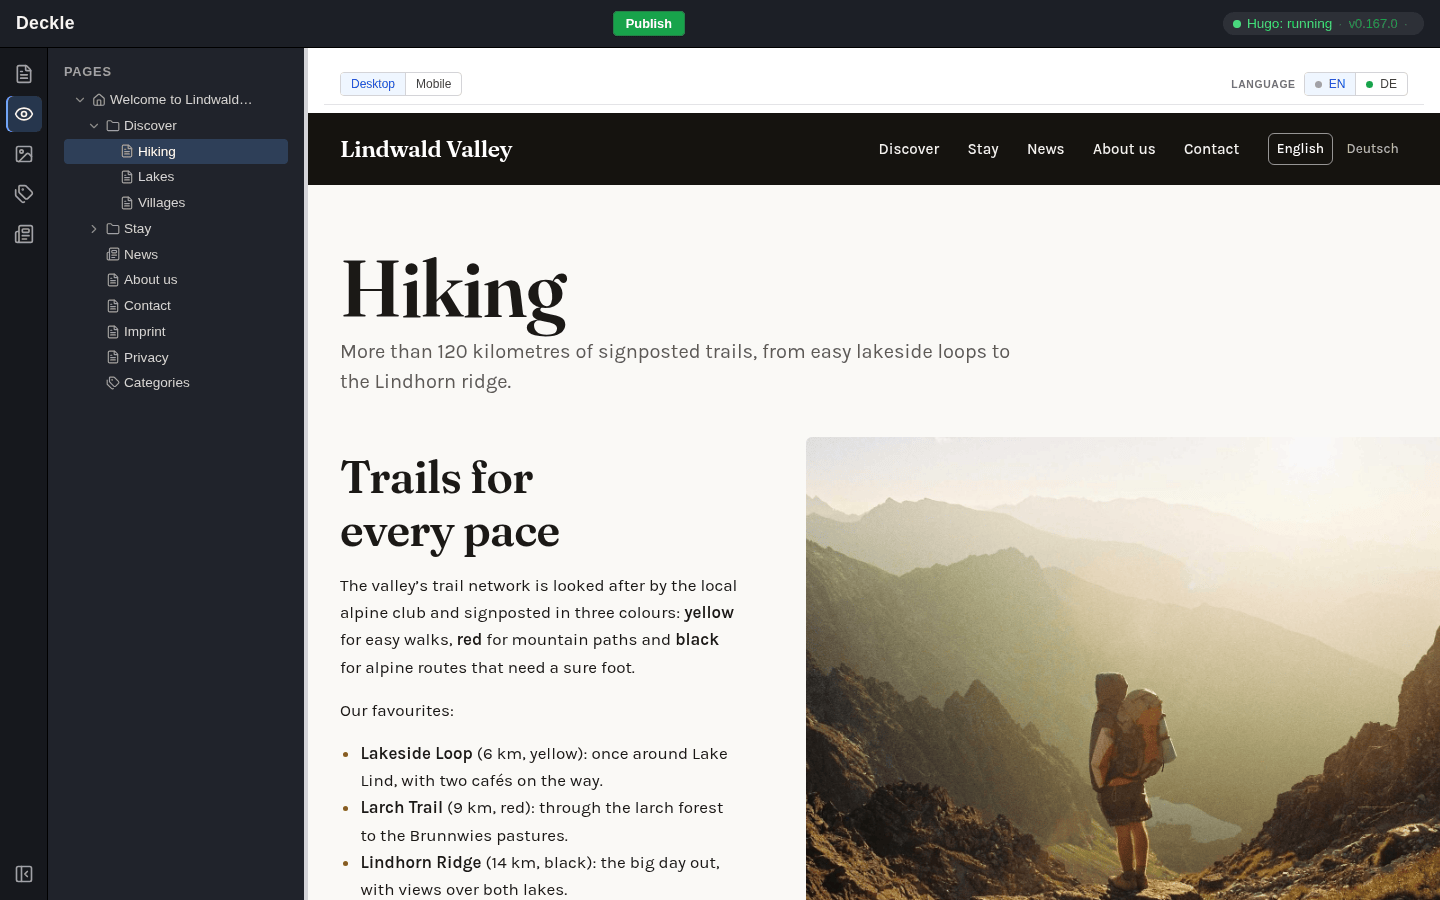
The eye icon. The preview of your website, with every change you have saved, including those not published yet. Read more under preview.
Media
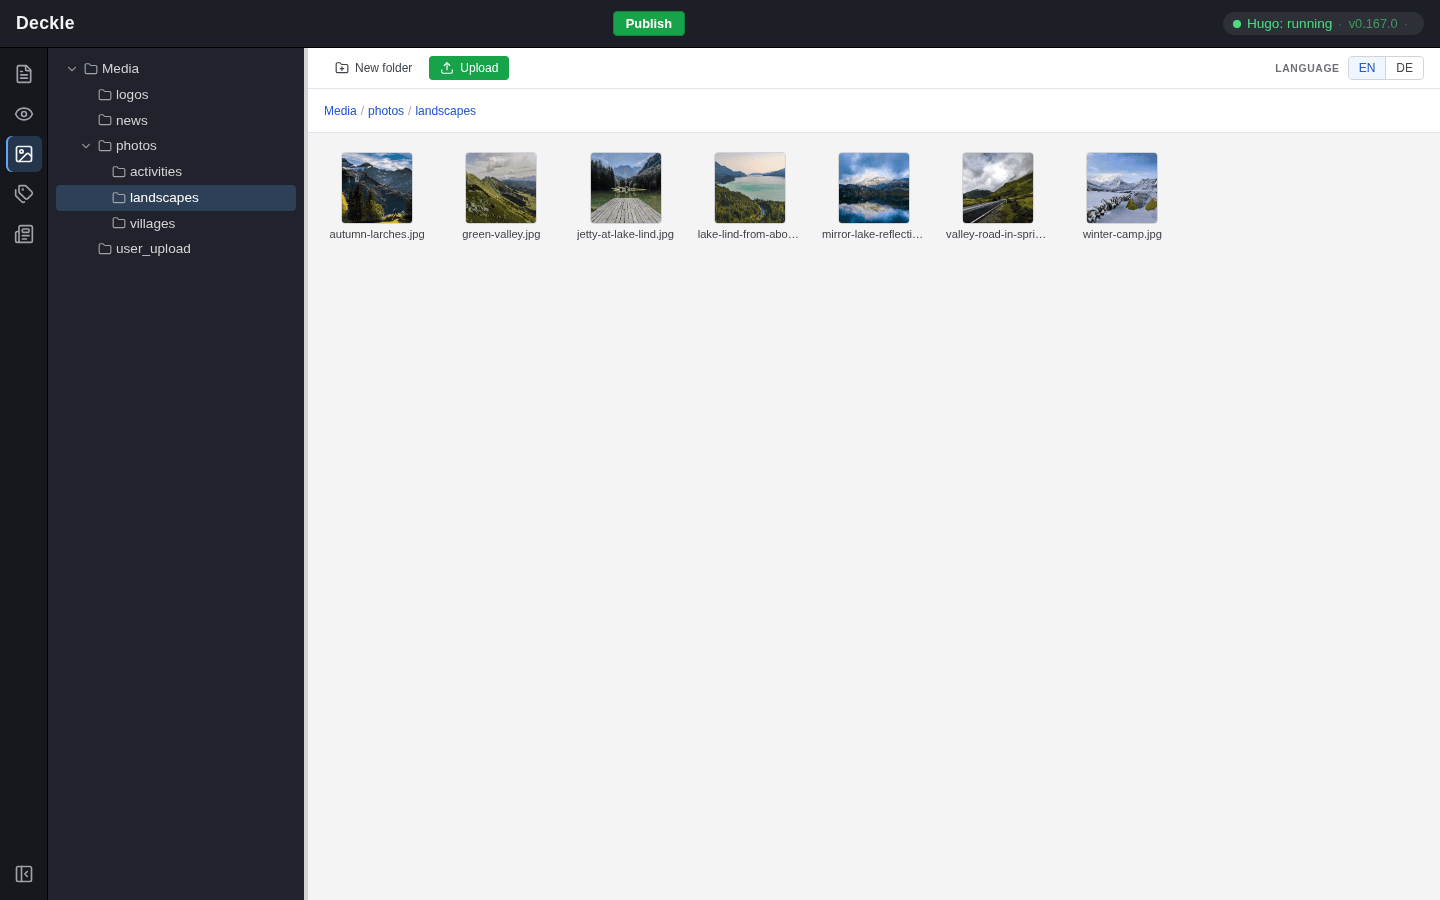
The picture icon. The media library with the images and PDF files of your website, sorted into folders. Here the page tree is replaced by the folder tree. Read more under the media library.
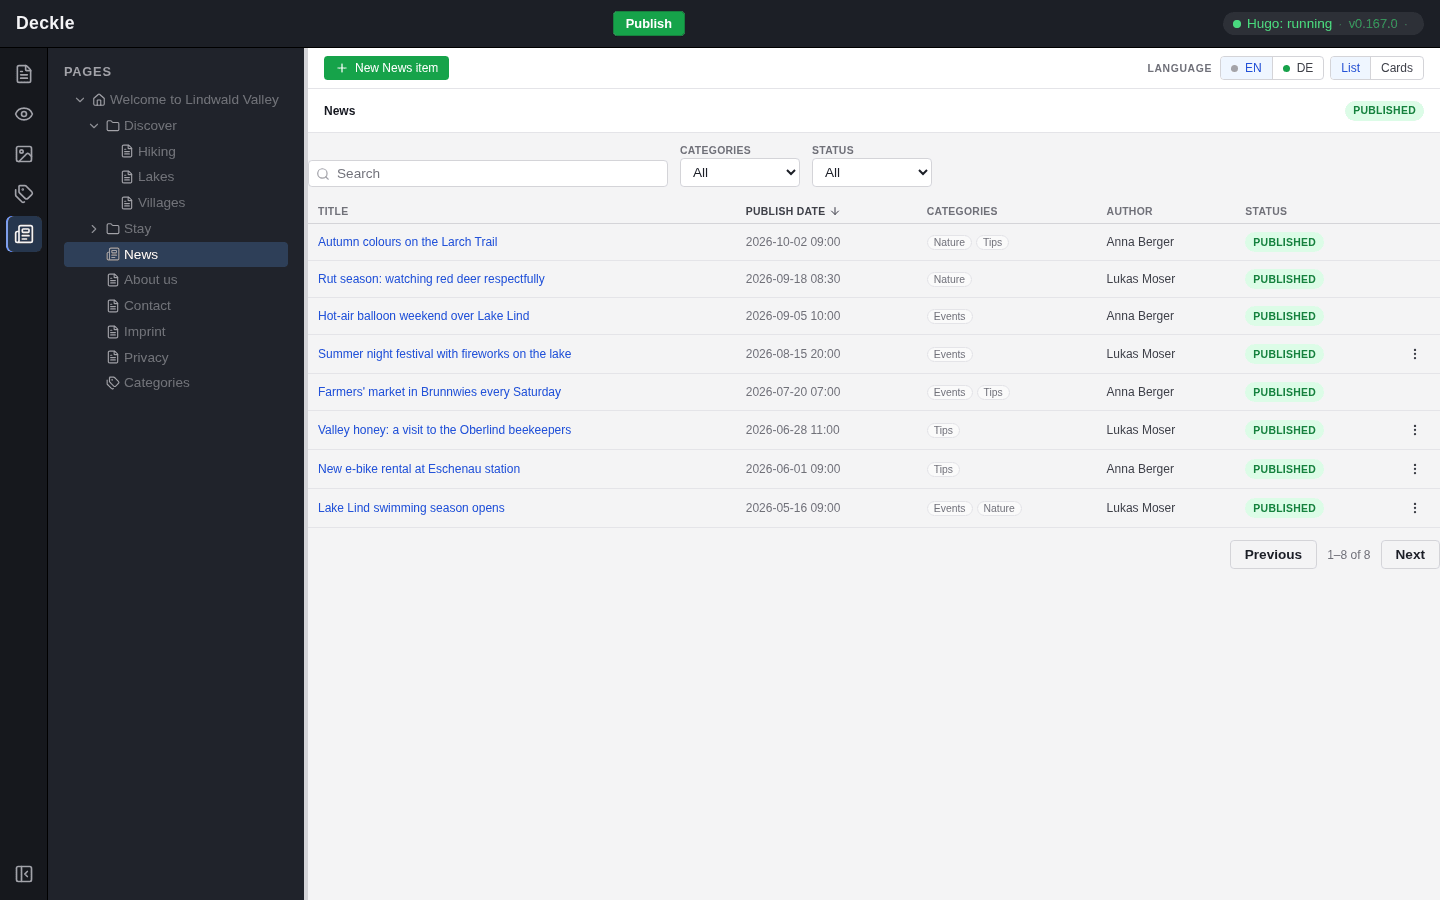
Categories and News
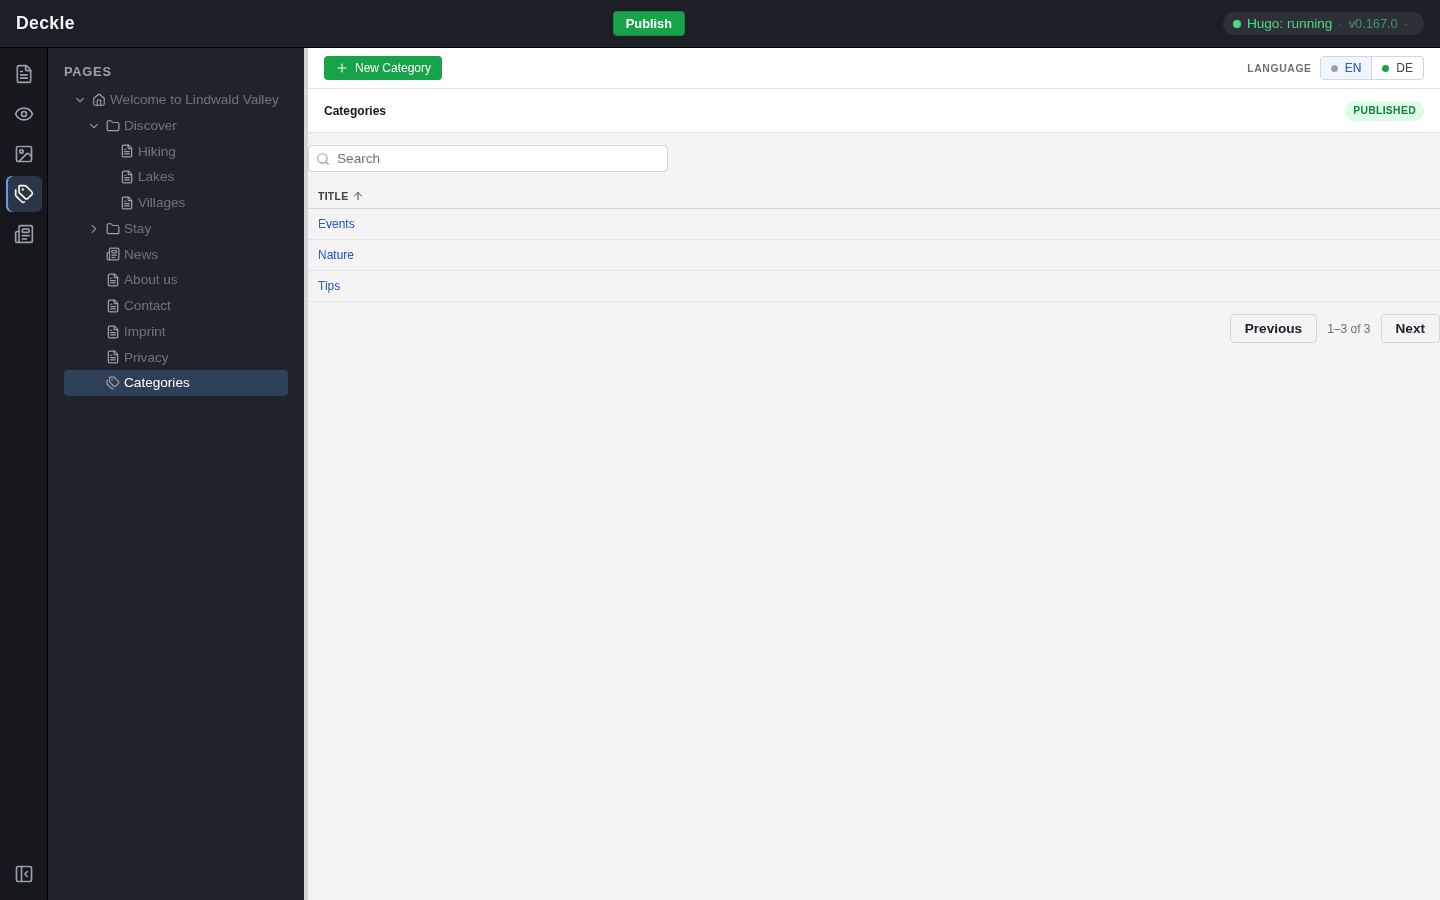
The tag icon and the newspaper icon, only on websites that use these features. Categories lists the categories your pages can be sorted into; News lists the news items of a news page, with search and filters. Both show the entries of the page you select in the page tree, so select the Categories page or a news page there. Pages that cannot be used in the module are greyed out. Read more under news and categories.
The language switch
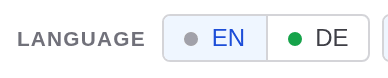
If your website has more than one language, every toolbar shows a language switch with one button per language, such as EN and DE. It decides which language you are working in: the page tree, the open page and the preview all switch to that language. The coloured dot next to each language shows the state of the open page in that language; point at it to read the state, for example “Deutsch — translated”. A website with only one language has no language switch. Read more under translations.
Keyboard shortcuts
| Keys | Where | What it does |
|---|---|---|
| Ctrl+S (Mac: Cmd+S) | In an element form or a page’s properties | Saves the form |
| Escape | In an element form or a page’s properties | Closes the form; with unsaved changes the editor asks first |
| Escape | In a dialog or a menu | Closes the dialog or menu |
| Enter | In the search box of the insert dialog | Inserts the first matching element |
| Ctrl+B, Ctrl+I (Mac: Cmd+B, Cmd+I) | While you type a text | Bold, italic |
| Ctrl+Z (Mac: Cmd+Z) | While you type a text | Takes back your last typing |
The editor remembers your place
The address in your browser’s address bar always shows the module, the language and the page you are on. If you reload, you are back in the same place. You can bookmark the address to return later, or send it to a colleague who also works in the editor, and they open the same page. The browser’s Back and Forward buttons work as usual.
As long as the browser tab stays open, the editor also remembers small settings, such as the width of the page tree and which pages in it are expanded.